
Meet 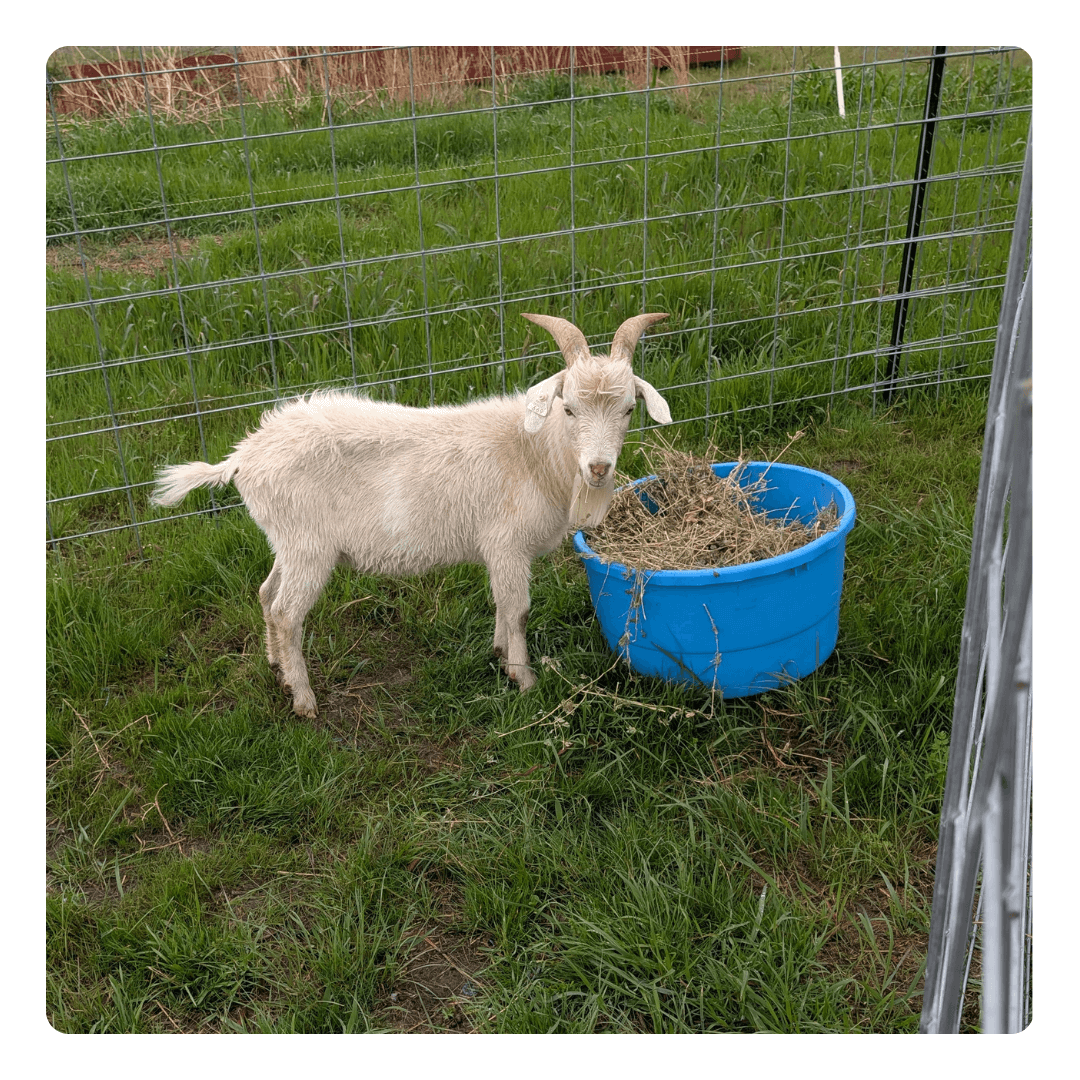 Rooster. This lil guy now has his own pen, which soon will be shared with Billy so that we can keep them apart from our does. He was caught being a little too friendly with one of our younger does, who we prefer to not breed just yet. So a pen was quickly put together using the cattle panels we used to create a shoot when loading the goats into a trailer.
 Rooster. This lil guy now has his own pen, which soon will be shared with Billy so that we can keep them apart from our does. He was caught being a little too friendly with one of our younger does, who we prefer to not breed just yet. So a pen was quickly put together using the cattle panels we used to create a shoot when loading the goats into a trailer.
 It was a quick fix yesterday evening, using only what we had out in the field. We still live about 20 min away from the field, so there was only so much that could be done on the spot. Also, time was an issue because it was Wednesday and my guys needed to be back home in time to eat dinner and be ready for Bible class.
This morning, my youngest and I headed back out to the field with the proper tools, and set Rooster up a bit better. We made the pen a bit bigger, made sure he had the proper shelter (thanks to our make-shift pallet shelter), a place for hay and for water. We had to wait out a rain storm to get it done, thankfully it worked out just perfect! 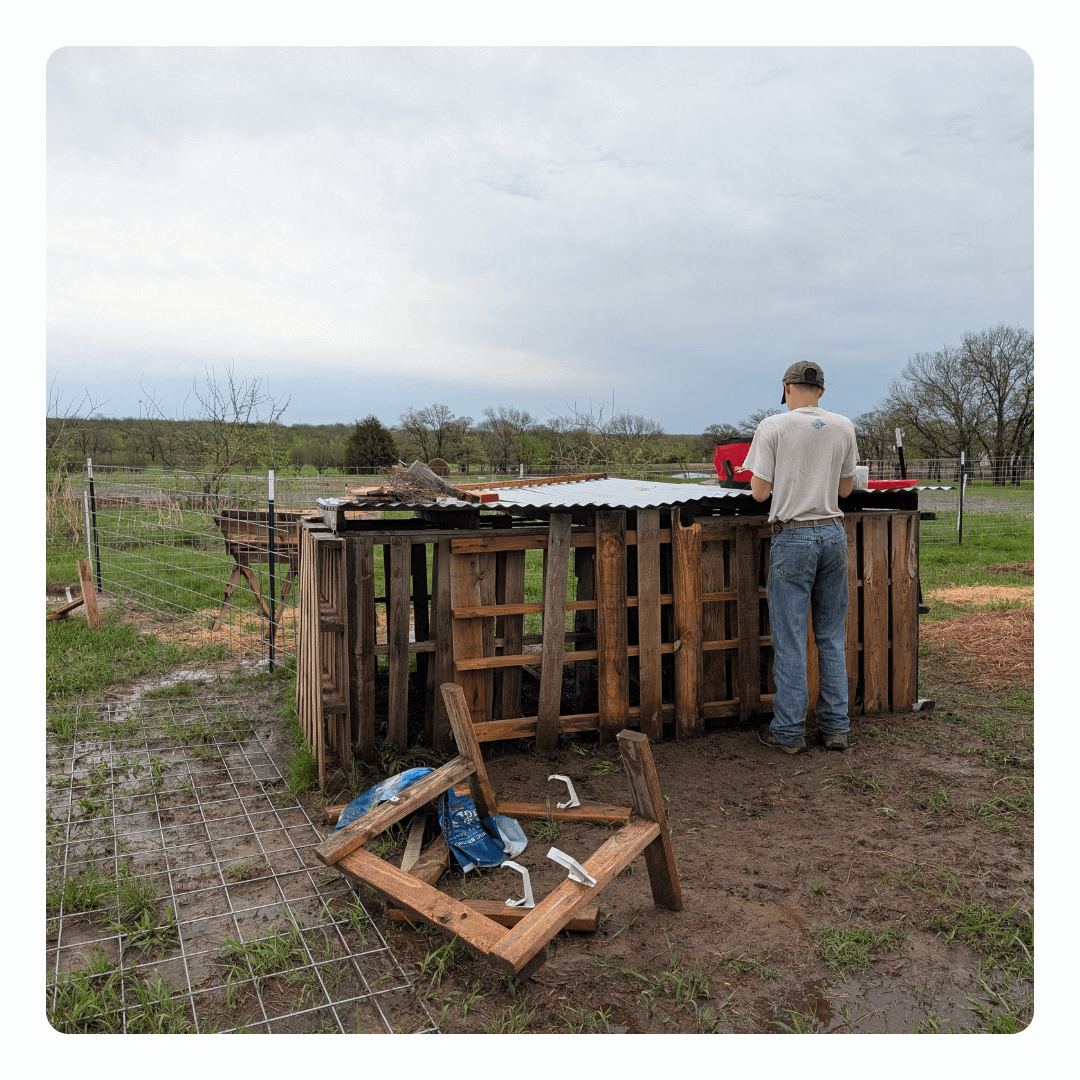

Next up, we need to catch Billy and add him to the pen with Rooster. This has been our plan for a while now, we just hadn't been able to make it happen. These days it seems like the only things we can get done are the things that we deem urgent at the moment. I suppose we work best under pressure.
Yes, we know Billy can also breed our younger does, but so far he hasn't been caught in the act and so far he seems to not be "in season". But since Rooster was caught, I'm sure Billy will be soon to follow.
Just another day on our crazy, no-land, homestead.
Let me just take a moment to say how thankful I am for my 3 guys. My husband and oldest son work their full-time jobs during the week, then come home to tackle whatever needs to be done for our homestead. My youngest is busy working on the weekends and doing homeschool and VoTech (for welding) during the week. They all work super hard. I'm very proud of all they are able to accomplish.
🌸 From my homestead heart to yours —
If you’re walking this same journey of homemaking, decluttering, and creating a peaceful, faith-filled home, you’re not alone.
I’d love to share encouragement, simple living inspiration, and homestead wisdom with you — right to your inbox.
If you’re walking this same journey of homemaking, decluttering, and creating a peaceful, faith-filled home, you’re not alone.
I’d love to share encouragement, simple living inspiration, and homestead wisdom with you — right to your inbox.
– Amanda | The HomeGrown Mom 🌾

In the months of January and February, we had some really cold days/night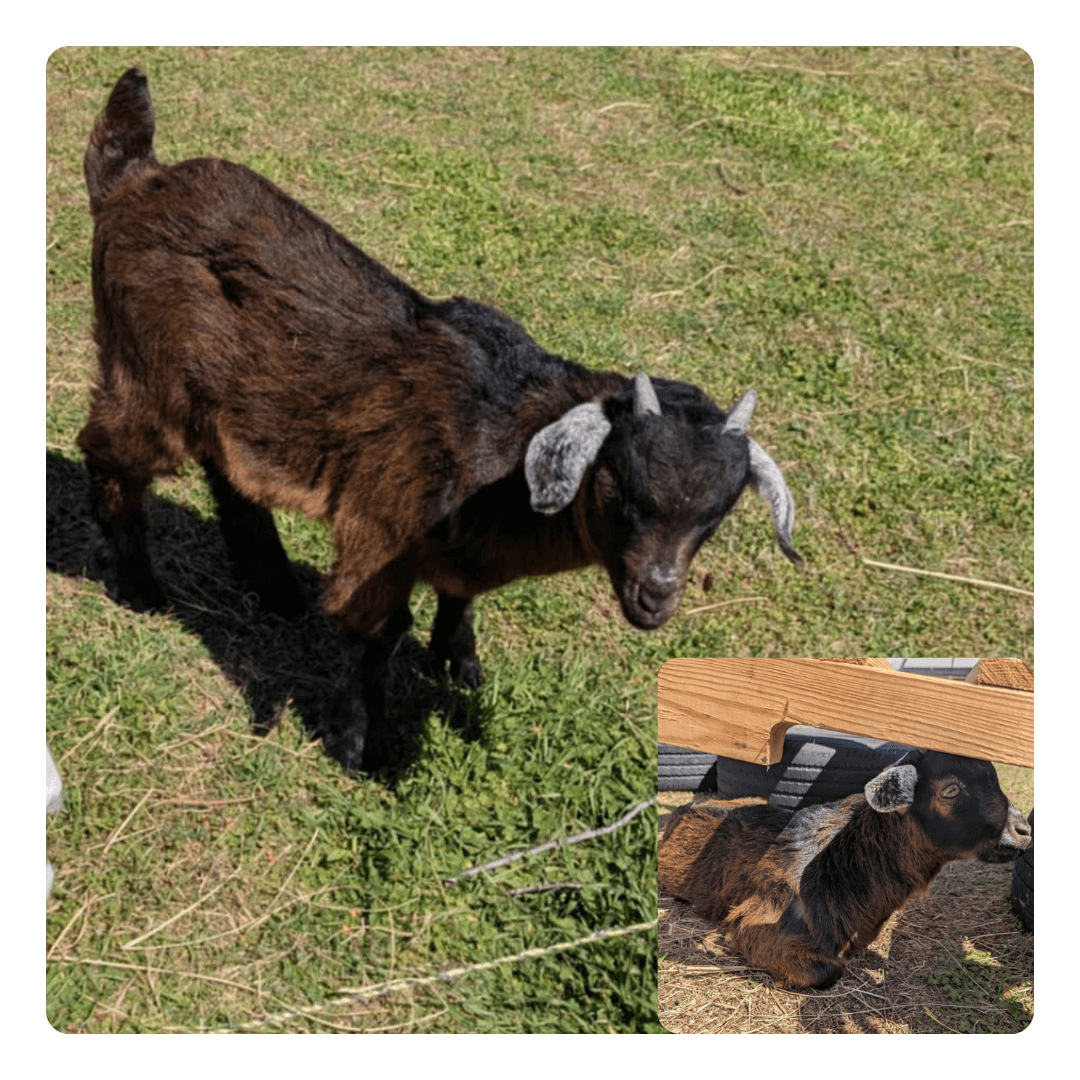 s. Too cold for new borns to be out in the weather. We ended up with 6 bottle babies, after having so many losses. We just didn't want to go through all of the losses again. It was a great learning experience for us. Since we live 20 minutes away from where we keep the herd, it was really nice to be able to look out our back window and see the little goats. After about 6-7 weeks, we had decided to bring home one more male goat. He was 6 weeks old and doing well, but we wanted him tamed so that we could keep him to breed. Just look at him...isn't he a beauty??
 s. Too cold for new borns to be out in the weather. We ended up with 6 bottle babies, after having so many losses. We just didn't want to go through all of the losses again. It was a great learning experience for us. Since we live 20 minutes away from where we keep the herd, it was really nice to be able to look out our back window and see the little goats. After about 6-7 weeks, we had decided to bring home one more male goat. He was 6 weeks old and doing well, but we wanted him tamed so that we could keep him to breed. Just look at him...isn't he a beauty??
Anyway, fast-forward a few more weeks. It's time to take the babies back out into the field. We felt Choco (our beautiful buck pictured on the right) needed a little more time to get use to us. So we left him and 2 other males behind. We took the other 4, 2 bucks and 2 does out to the field. They were quite a bit smaller than most of the other babies we had out in the field. That mother's milk just makes them so much bigger! The herd didn't quite accept them and pushed them around a bit if they got in the way, which was to be expected. It was hard to leave them there, for a couple of reasons. One, we didn't want to leave them. We had grown used to having them at home with us. And two, because they tried to follow us out of the fence. Since they are so small, they slipped right through without being shocked.
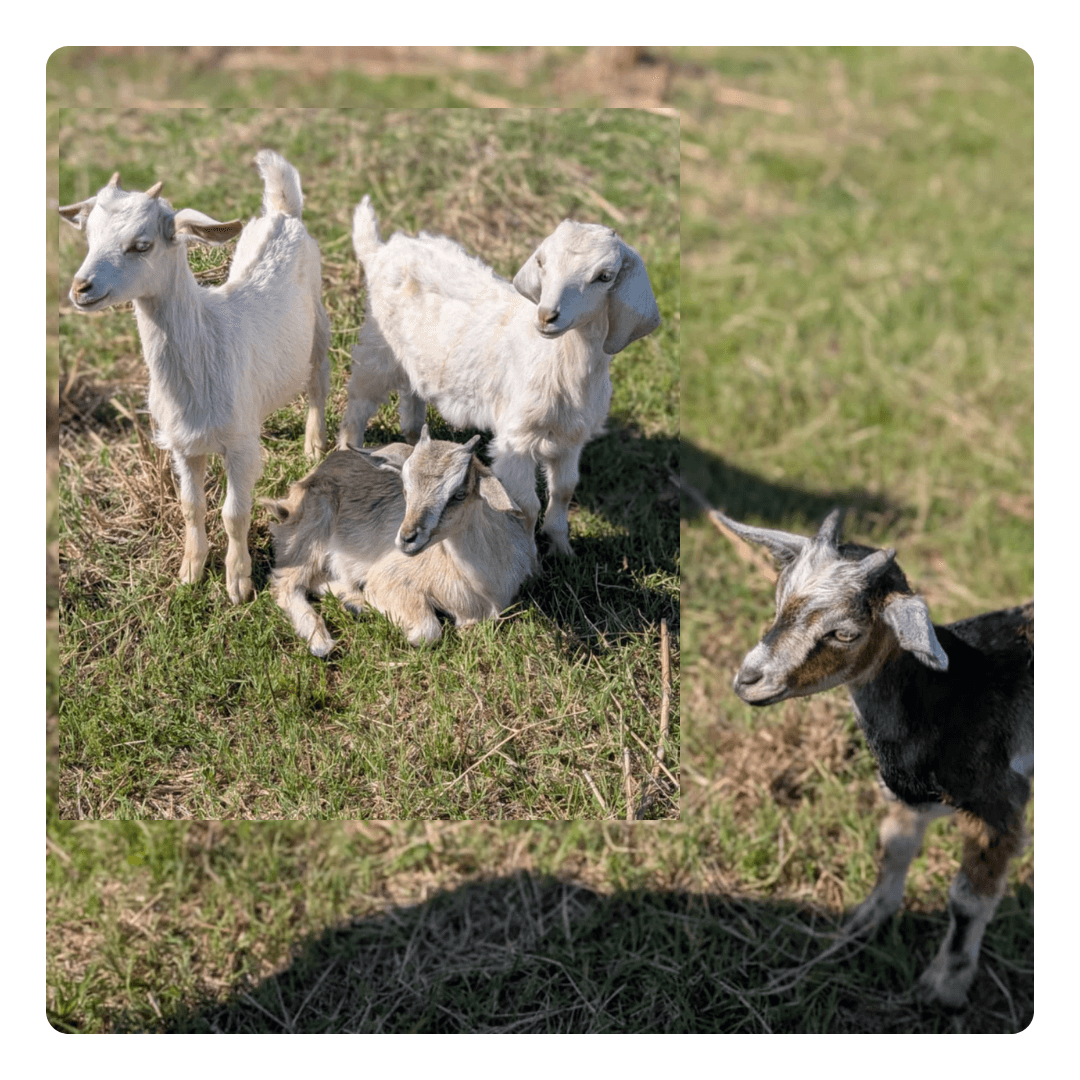

By afternoon, when it was time to feed the goats, all 4 of the babies were accounted for, but still weren't really merging with the herd. When morning came and the goats were fed, we were missing one of the babies. To make matters worse, it was one of the does we had. Her name was Girlie. We had nursed her through pink eye and bottle fed her most of her life. She was super sweet and had really cute floppy ears. To say we were sad is an understatement.
We looked for her a few different times that day. At one point all 4 of us were out there searching the woods and calling for her. We found no trace of her anywhere. That night before my son came home, he was being followed by the remaining 3 babies. He watched 2 of them go through the fence, following him to his car. At that point we decided to just bring them back home.

So now, here we are with 6 goats in our yard again. Still missing Girlie, but not wanting to take a chance on loosing the others. We are in planning mode to try to figure out how to get these 6 out in the field and keep them safe.
🌸 From my homestead heart to yours —
If you’re walking this same journey of homemaking, decluttering, and creating a peaceful, faith-filled home, you’re not alone.
I’d love to share encouragement, simple living inspiration, and homestead wisdom with you — right to your inbox.
If you’re walking this same journey of homemaking, decluttering, and creating a peaceful, faith-filled home, you’re not alone.
I’d love to share encouragement, simple living inspiration, and homestead wisdom with you — right to your inbox.
– Amanda | The HomeGrown Mom 🌾

To say that homesteading with no home or land of our own is fun and easy would be quite the understatement. Don't get me wrong, we do enjoy parts of it and we do consider it quite the blessing. We have inherited a herd of goats (starting around 26 and now up close to 60), have borrowed land from friends to let them graze on, and so many other blessings along the way that are really too many to recall right now. However, it's been far from easy. If I'm being really honest, it's been a huge time commitment and a bit of a money pit. The struggle is real.
Now that I've said all of that, would we take this opportunity again, now that we know a little bit about what it involves, I think the answer is yes. What better way to learn than to jump in and just do it? Ok, so maybe having a truck and trailer first would have been beneficial, but still...yes, we'd do it again.
We would, however, change a few things along the way. For starters, we probably would have fenced in a smaller area and giving a few sections so that we could keep a better eye on things and segregate the goats as needed. We also would have been better equipped to handle cold weather and a few medical issues. But, again, we are doing this all backwards so all we can do is the best we know to do.
Since my last post, we have lost one of our bottle babies. She ended up quite bloated and we just didn't know in time what to do about it. We tried...even to the extent of taking her to Ace (where my husband works) and doing a little tubal "surgery" on her while there. We had called our vet and followed his suggestions. It was just too little, too late.
That was a super hard day for us. It happened to be another cold day, our co-op had been canceled. So my youngest and I thought we'd have time to catch up on things around the house and have a more easy-going day at home. Boy, was that ever wrong! Instead, when we went out to the pasture to feed the goats, we found one of our missing kids (she had been gone a day or 2 and we just couldn't seem to find her) along with a few other kids who didn't make it for one reason or another. One of them was barely alive and we did all we could to revive her. I even wrapped her up and cuddled her close in my coat. But, sadly, that same day, we took a 6 kids out to the pasture (aka livestock graveyard). This left us with 6 kids in the field and, well...honestly I can't remember the time frame anymore. I don't remember when we brought home our newest set of bottle-fed twins. But we currently have 6 bottle babies at home and 6 thriving babies out in the field.
We are having another, even worse, cold front today and the next couple of days. So hope and pray this all goes well.
On top of this, our goats have been getting out of the electric fence. We have tried for several days to fix it. We finally bought a new fence charger last night, only to realize that the electric box we were planning to use didn't work. So now my boys are out in the VERY cold weather trying to take care of it because, once again, the goats got out. But that's all a story for another post.
🌸 From my homestead heart to yours —
If you’re walking this same journey of homemaking, decluttering, and creating a peaceful, faith-filled home, you’re not alone.
I’d love to share encouragement, simple living inspiration, and homestead wisdom with you — right to your inbox.
If you’re walking this same journey of homemaking, decluttering, and creating a peaceful, faith-filled home, you’re not alone.
I’d love to share encouragement, simple living inspiration, and homestead wisdom with you — right to your inbox.
– Amanda | The HomeGrown Mom 🌾

This is our first kidding season on our own with our herd of goats. We had a few successful births in November/December. Then weather got cold and things took a turn. In about a month's time we lost about 12 kids. Some were due to new moms who didn't know what to do. We lived too far away to keep a constant eye on them. By the time we made it to them, it was too late. Others died because it got too cold during the night and they just couldn't get warm enough. We did our best. We had a propane heater (only used while attented), we put hay all around the shelter for extra warmth, made sure goats had plenty to eat...everything we could think of.
Then, we finally had it. We were tired of loosing our kids, even some we brought home to care for. I called on a friend who has been caring for goats for 8 years. She was my lifeline. We had a set of triplets born on a Friday. It was going to be a cold night and there was also a chance momma (who had kidded before) would only be able to care for 2 of them. We tried moving them into a barn, but it traumatized mom so much she wouldn't relax enough to care for her kids. So, we brought the kids home. We made sure they had momma's first milk and had replacement on hand. It was suggested to take them back just before dawn the next day to see if momma would accept them back. She would have, I think, had she been more relaxed and in her element. The barn was a ways away from the pasture she was in and it also had a couple of dogs in the stall next to hers.
So, home with the triplets we went. One of them seemed a bit sickly, so we kept her separated and kept a close eye on her. Sat night I was up every hour and a half or so to check on them and do the feeding. The couch was my bed. Every 45 min-an hour I'd catch a little nap. Thankfully they all made it through the night.
By this time we had given them a dose of silenium, and clipped and cleaned the cord of one of the bucks. On Sunday, we had a set of twins we brought home. Mom just didn't seem to be taking care of them and it was going to be another cold night.
By Monday we decided to take them to a vet. We wanted to ensure we were doing all we could and also needed the learning experience. So we loaded up the triplets and off we went. Thankfully we were told we could have all 5 together, no need to segregate. Our little doe who was sickly got an antibiotic shot and she was good to go.
Now, here we are the following Saturday. We now have another 12 (I think) kids out on the pasture with the other goats. And our 5 bottle babies are in our back yard and thriving.
🌸 From my homestead heart to yours —
If you’re walking this same journey of homemaking, decluttering, and creating a peaceful, faith-filled home, you’re not alone.
I’d love to share encouragement, simple living inspiration, and homestead wisdom with you — right to your inbox.
If you’re walking this same journey of homemaking, decluttering, and creating a peaceful, faith-filled home, you’re not alone.
I’d love to share encouragement, simple living inspiration, and homestead wisdom with you — right to your inbox.
– Amanda | The HomeGrown Mom 🌾

For the past couple of years I have chosen a word for the year. I've come to realize that even when I forget my word or don't directly focus on it, it still seems to have an overall presence in my life.
For this year, 2025, I have chosen the word "rooted". I took it a step further and chose a verse to go along with it: Psalm 1:3
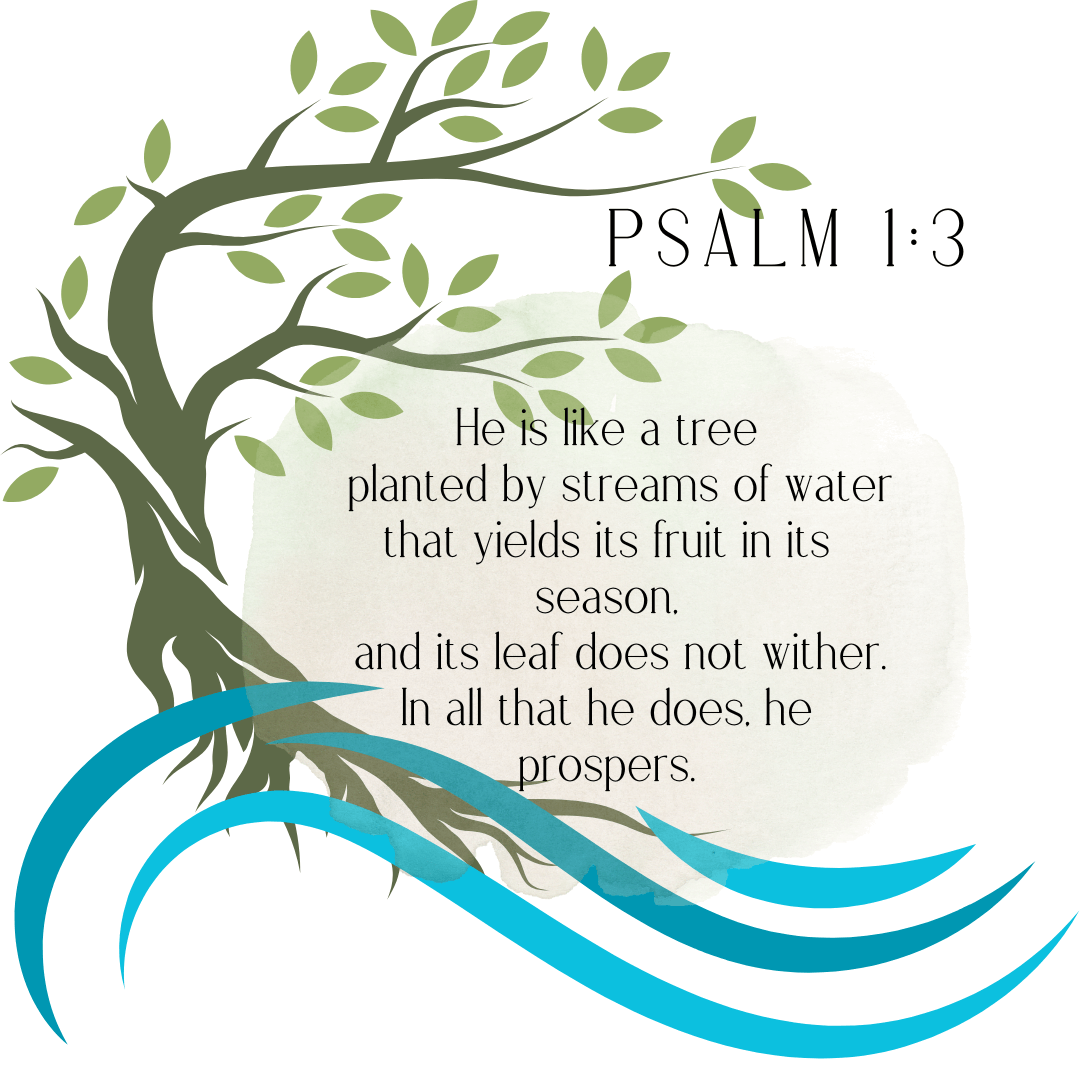
This year my focus is most importantly, on God. I need to be rooted in HIS word and in HIS truth. I need to be sure that everything else I am doing in life stems from HIS will for me.
I also want to establish roots by pursuing our dream of owning our own land and home, growing our homestead, and having a place for our family to join us if they choose.
That's why I chose Psalm 1:3 for my verse. It encompasses all of my hopes and dreams for the year. I need to remind myself that everything has a season. That everything in its own time is prosperous.
When I was choosing my word, this is a note I made to help me make sure it was all aligned: Rooted is the word I am leaning towards. I believe it will remind me that when I stay rooted in God, the rest of my life will follow and I will be able to withstand all that comes my way. I also like that it portrays the foundation of my homestead and relationships. Standing firm in all things that matter most.
I also took it another step further and had some help choosing a color scheme. Here's a look at the colors and what they stand for, as they relate to my theme for this year:
- Earthy Greens– Symbolizing growth, stability, and being rooted in the earth.
- Shades like sage green, olive green, or deep forest green.
- Rich Browns– Representing the strong foundation of soil, connectedness, and dependability.
- Colors like chestnut, cocoa, or walnut brown.
- Muted Terracotta or Clay – Evoking the warmth and groundedness of the earth, with a cozy, natural vibe.
- Warm Neutrals – Soft shades like beige, taupe, or sand that provide a calming and grounded atmosphere.
- Deep Blues – Representing steadfastness and calm, connecting to the deep roots of faith and spirituality.
Oddly enough, these are all colors I was already using. I love how perfectly it's all aligning for me this year. I'll make a few posts throughout the year as to how I'm moving forward with my word and theme for this year. For starters, I have come across a new Bible study aid (more on this in the next post). It's not only helping me keep my theme going, it's also helping me really grow and deepen my spiritual roots.
If you haven't chosen a word for the year yet, it's not too late! In fact, I can direct you to a help that I used (created by my sister!). It has some thought-provoking exercises to help you narrow down your focus for the year. You can grab your free workbook here!
🌸 From my homestead heart to yours —
If you’re walking this same journey of homemaking, decluttering, and creating a peaceful, faith-filled home, you’re not alone.
I’d love to share encouragement, simple living inspiration, and homestead wisdom with you — right to your inbox.
If you’re walking this same journey of homemaking, decluttering, and creating a peaceful, faith-filled home, you’re not alone.
I’d love to share encouragement, simple living inspiration, and homestead wisdom with you — right to your inbox.
– Amanda | The HomeGrown Mom 🌾


