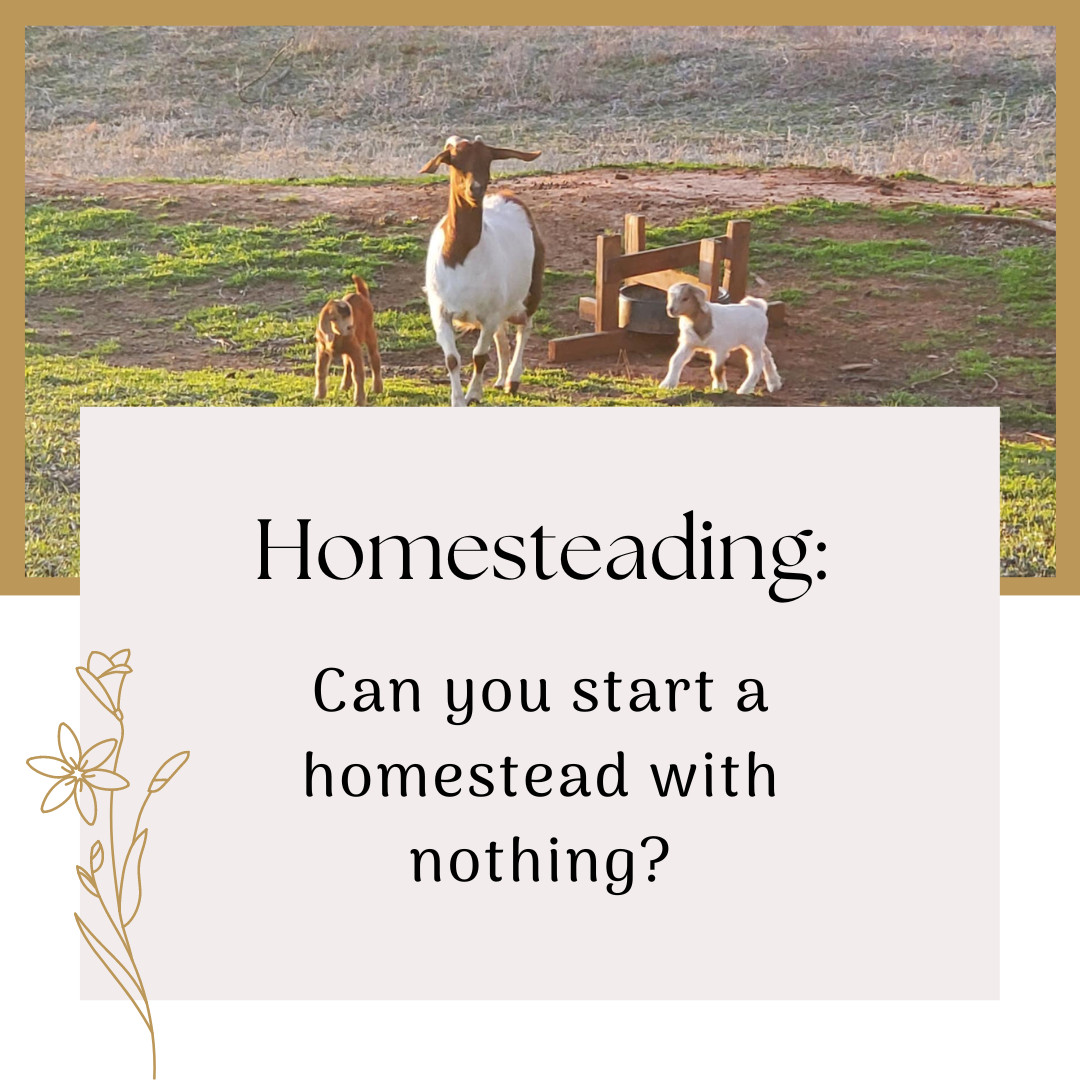
Tis the season for all things pumpkin spice! I have been a lover of this season for a long time. I love all things pumpkin spice! However, the healthier I get the harder it is to find anything I can enjoy. So I found a recipe that I can make myself and enjoy without my body paying for it later.
First, let me tell you that I absolutely LOVE my Vitality oils. They are approved for ingestion and a little goes a long way, making them a perfect match for all of your culinary needs. If you don’t have your kitchen stocked with Vitality Oils yet, let me know and I’ll be happy help you out!
Now for the best part of this post, Pumpkin Spice Creamer! This is the perfect coffee creamer to kick off the fall season. It's made with vitality essential oils to give your body extra immune support. Not to mention that they make it taste amazing!
Spiced Pumpkin Creamer

Ingredients
- 2 cups Unsweetened Almond (or Coconut) Milk
- 1/3 cup Pumpkin Puree (organic is best!)
- 2 drop Cinnamon Bark Vitality Oil
- 1 drop Clove Vitality Oil
- 1 drop Ginger Vitality Oil
- 1 tsp Vanilla Extract
Instructions
This post contains affiliate links, which means I will earn a small commission on purchases made through these links. I assure you that I only recommend products and companies that I trust and would purchase from personally. Thanks for reading! Our full disclosure policy isn’t too exciting but you can find it here.

Gluten-Free Pancakes (no egg, no dairy)
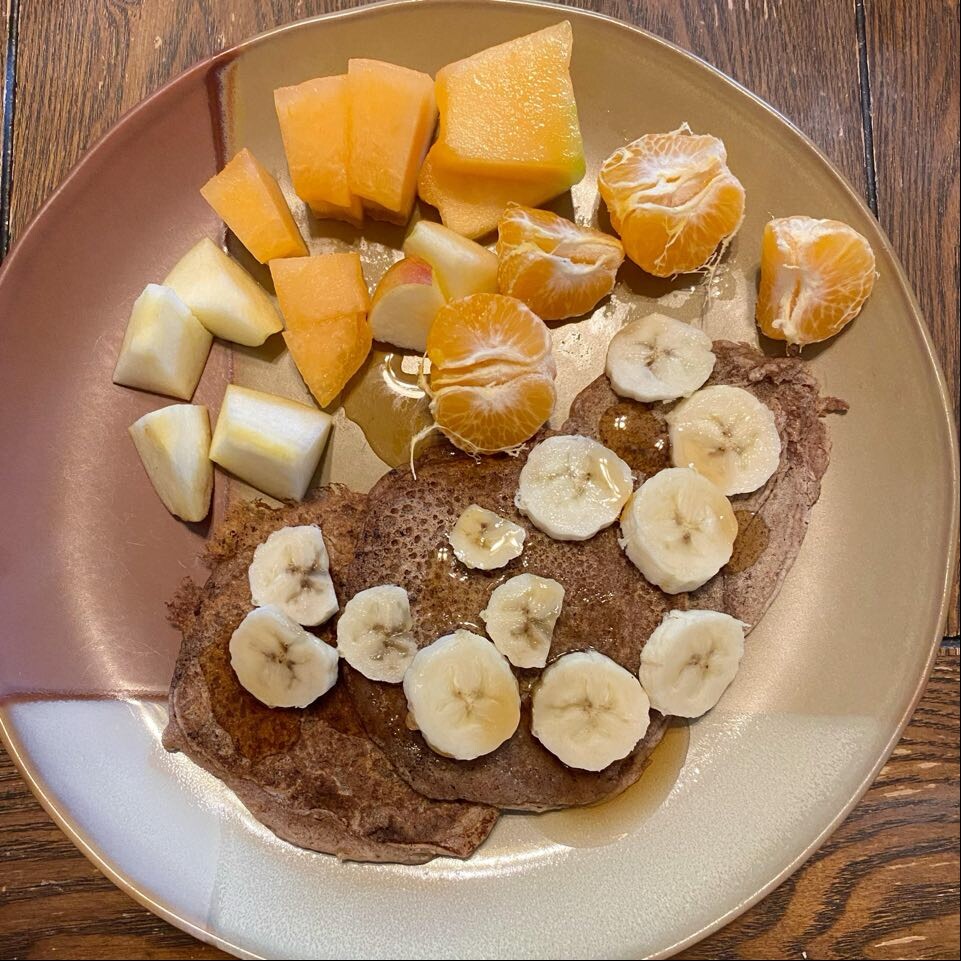
Ingredients
- 1 cup gluten-free 1 for 1 flour
- 1 Tbs ground flaxseed (flax meal)
- 2 tsp baking powder
- 2 tsp ground cinnamon
- 1/4 tsp himalayan salt (or sea salt)
- 2 Tbs pure maple syrup (can also use honey)
- 1 tsp vanilla
- 1/4 cup buttermilk (see note)
- 1 cup almond milk
Instructions
- Grease griddle and preheat (see notes for suggestion).
- In mixing bowl, combine flour, flax meal, baking powder, cinnamon, and salt. You can sift if you want it more fine. I skip this step because it seems to work fine to just mix it.
- In another bowl, combine maple syrup, vanilla, buttermilk (see note), and almond milk. Slowly mix in half of the liquid into the dry ingredients. Stir continually as you add the rest, 1/4 cup at a time. This helps keep it from being too runny. Mix until all the lumps are out of the batter.
- Place about 1/4 cup of mix onto prepared hot griddle.
- Cook for 1-2 minutes, or until they start to bubble around the edges. Flip and cook the other side for an additional 1-2 minutes. Remove and serve.